The Feral Turtle
A BIT OF A SLOW STARTER BUT ONE WILD RIDE!
Sunday, September 6, 2026
Being a Canadian
Friday, March 6, 2026
Wicking Bed Planters
The IBC totes worked great for wicking beds, so I decided to make some smaller versions for the deck.
![]() |

The IBC totes worked great for wicking beds, so I decided to make some smaller versions for the deck.
I started by purchasing two rain barrel bulkhead fittings. These allow the barrels to be drained in the fall so they won’t split during freezing winter temperatures. After cutting the barrels in half, I drilled a hole in the bottom of each one for the bulkhead fitting. I then added a bit of water to test them and make sure there were no leaks.
The next step is creating the water reservoir at the bottom of the planter. This space stores the water that will eventually wick up to the plant roots. I used a plastic container for this layer and drilled many holes in it so water can freely move in and out of the space.
A piece of plastic pipe is used as the fill spout. The pipe should extend above the soil level so the planter can be easily filled. I drilled a hole large enough for the pipe to fit through, and cut the bottom of the pipe at an angle so it doesn’t sit flush on the base. This allows water to flow freely into the reservoir.
Once the water layer is in place, a barrier is added to keep the soil separate from the reservoir. I use landscape fabric for this. I used the same material in the IBC totes, and they’ve been working perfectly for three years now. The fabric is tucked down into the spaces so the sand layer will still make contact with the water below.
Next, a layer of sand is added. At this point, I drill a ½-inch overflow hole in the side of the barrel at the top of the reservoir level. This hole allows excess water to drain out so the soil doesn’t become waterlogged. It also acts as an indicator when filling the planter—once water begins to come out of the hole, the reservoir is full.
For soil, I use our homemade compost. Mr. FT makes sure we have plenty ready every spring.
Finally, the flowers are planted, and just like that the deck community garden is complete.
Check out my short YouTube video for the full tour
Cheers!
Sunday, February 15, 2026
Ikea Hack for Kids Artwork
Sunday, October 12, 2025
Christmas in October?
Saturday, April 12, 2025
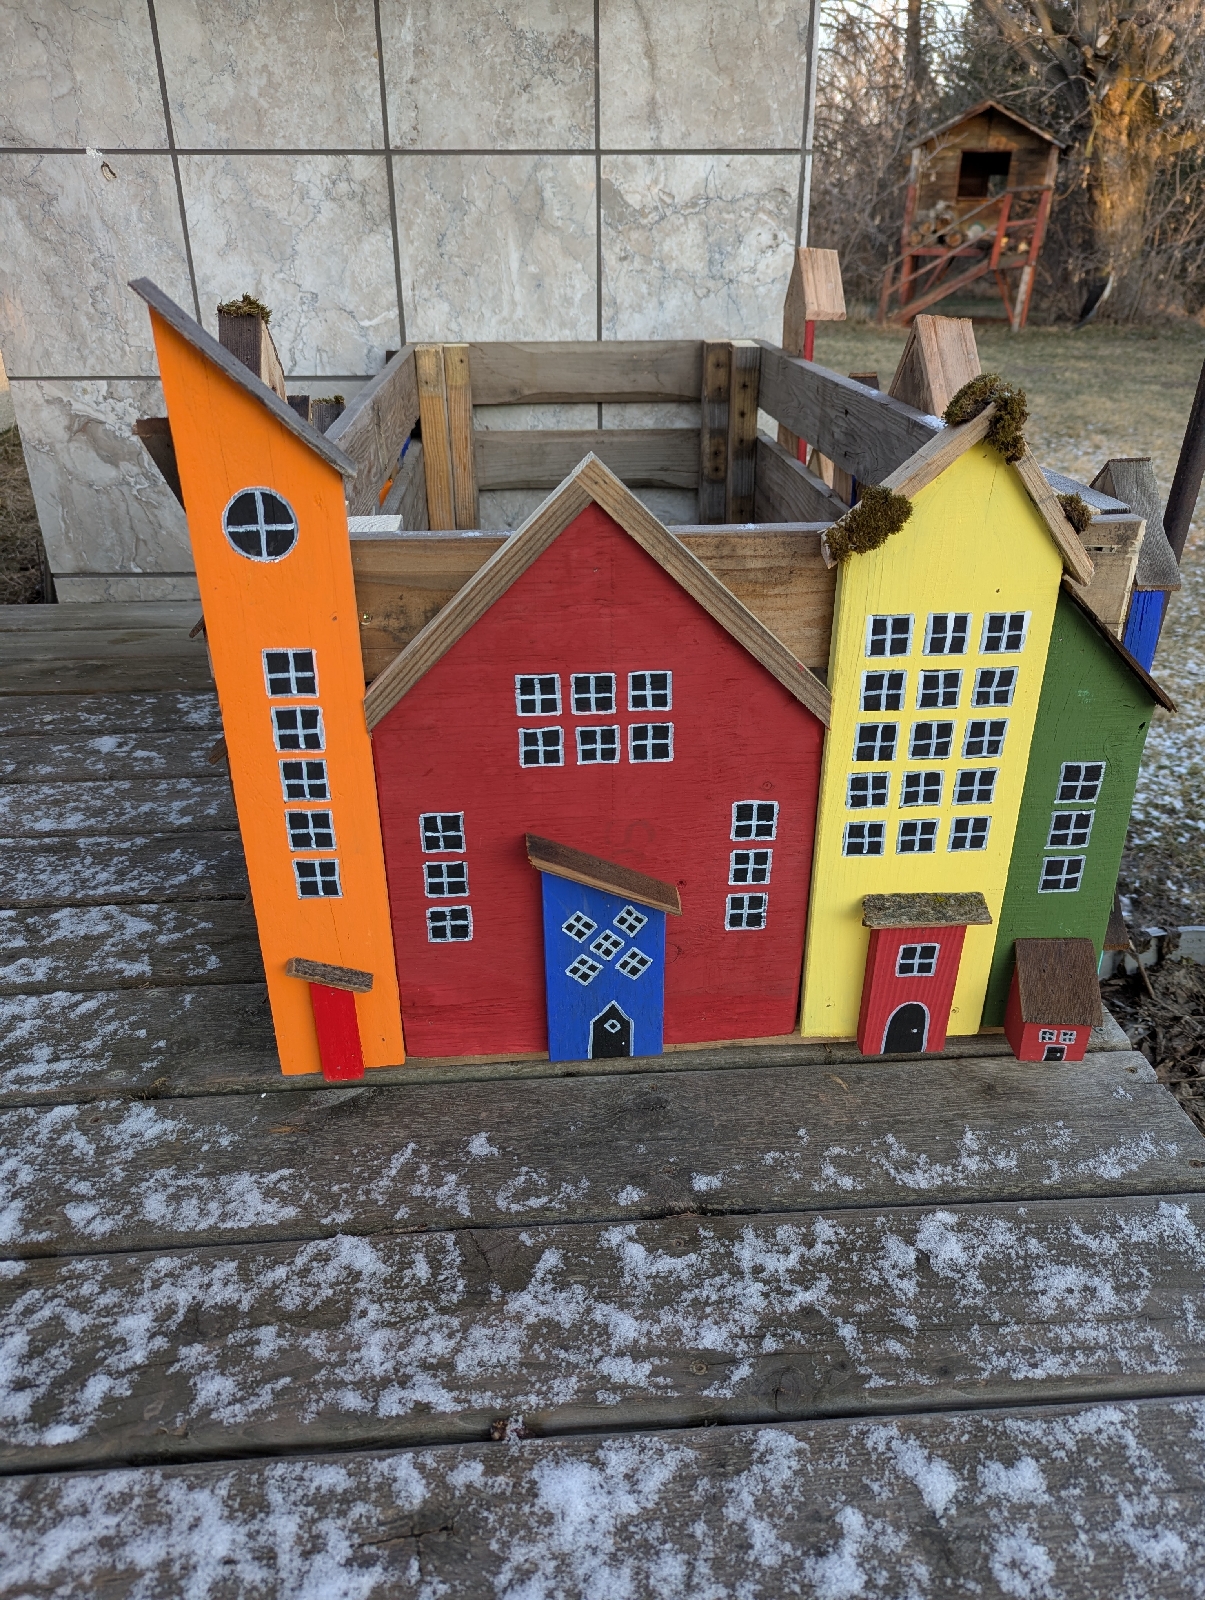
A new housing community made from pallets. Part One
This is part one in my quest to create some fun and virtually maintenance free deck planters for summer.
My plan is to hide four plastic barrels which will be turned into wicking bed planters. (Post coming soon)
I found a really heavy duty pallet in my stash and cut equal lengths off of each end (19"). This will be the height of the planter facade and also the front and back.
Using the boards from the underside of the pallet, I cut the width I needed which turned out to be 22".
The finished measures will be 48" x 23 1/2" x 19" high.
I assembled it in place but made it so I can disassemble for the long, cold, bleak, did I mention long winter months of shovelling snow and more snow and lots of white stuff off the deck.
Next on the list was to cut different shape houses. All the wood was pallet scraps or cutoffs from previous projects. I created a hodgepodge of different shapes and painted them using dollarstore paints.
and voila, a new community was in the works!
That is the last remnants of a snowstorm we had.
Hoping for one more before spring flowers.
I air nailed the houses to all four sides of the planter facade.
Next step will be the wicking bed planters which will sit inside the new housing development. This community should be nearly maintenance free for the summer, with only a good watering once a week!
You can view part 2 here.
Cheers!