Showing posts with label Home Decor. Show all posts

Sunday, February 16, 2025

Creating a Beaded Christmas Bulb Spider


As easy as watching a Youtube video!


OR


24 of these beads used


After cutting the end off, curl wire around plier to hold beads on.


Add glitter and Pose your spider.  


Finishing the wire wrap with glitter is the perfect way to present these beauties.

Cheers!


Wednesday, October 19, 2022

Seashell Mirror


Unfortunately I had an accident. 
 While carrying  my newly purchased mirror into the house, 
I broke it.😢

 I must mention this wasn't my first attempt at hiding
 the large break. but every time I looked
 in the mirror, all I could see were wrinkles. 😣
I was on Pinterest one evening and saw a gorgeous STUNNING shell mirror, 
 WOW it was only......ELEVEN THOUSAND DOLLARS
so......
With eleven bucks,and seven years bad luck,    
 my attempt at recreating the lovely work of art began.  
 
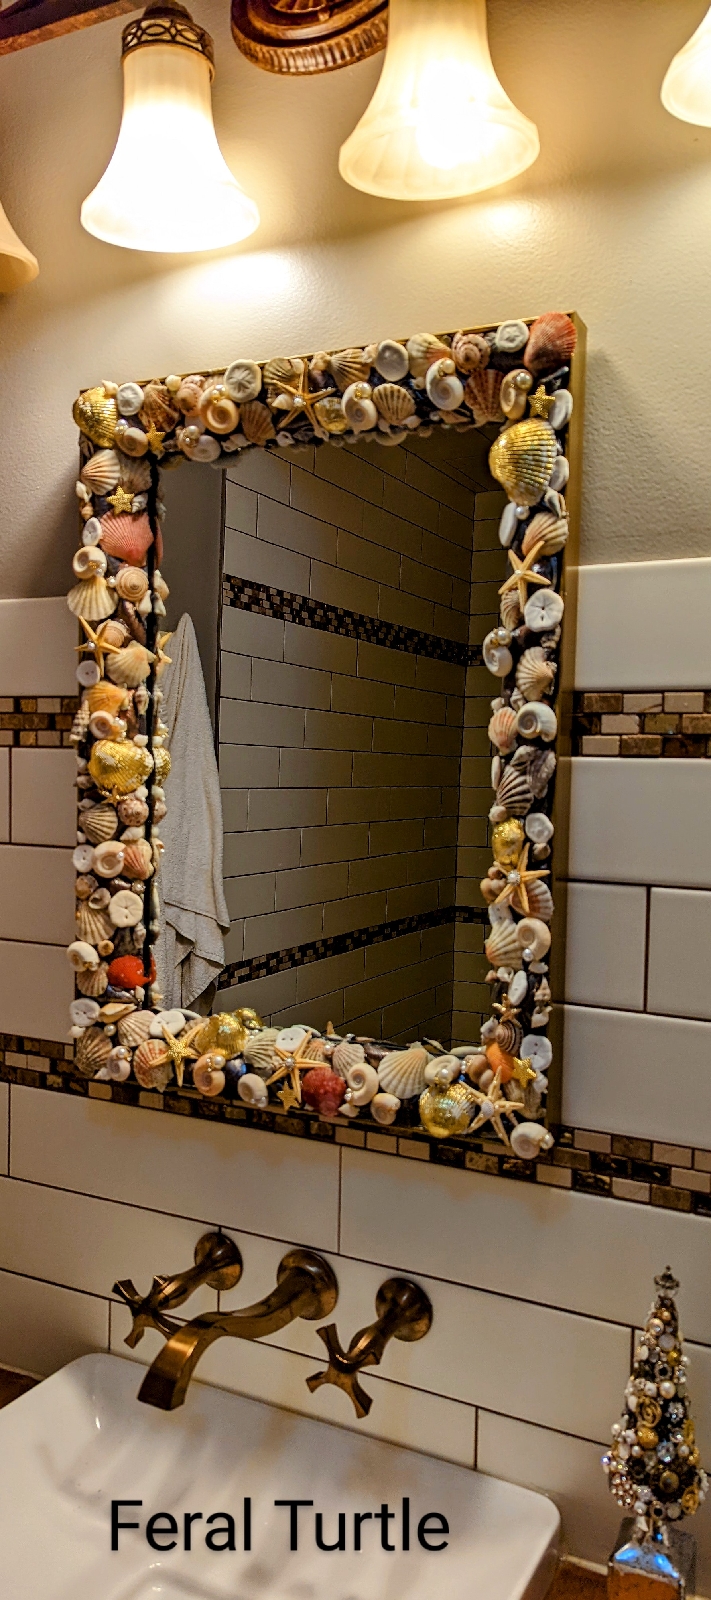
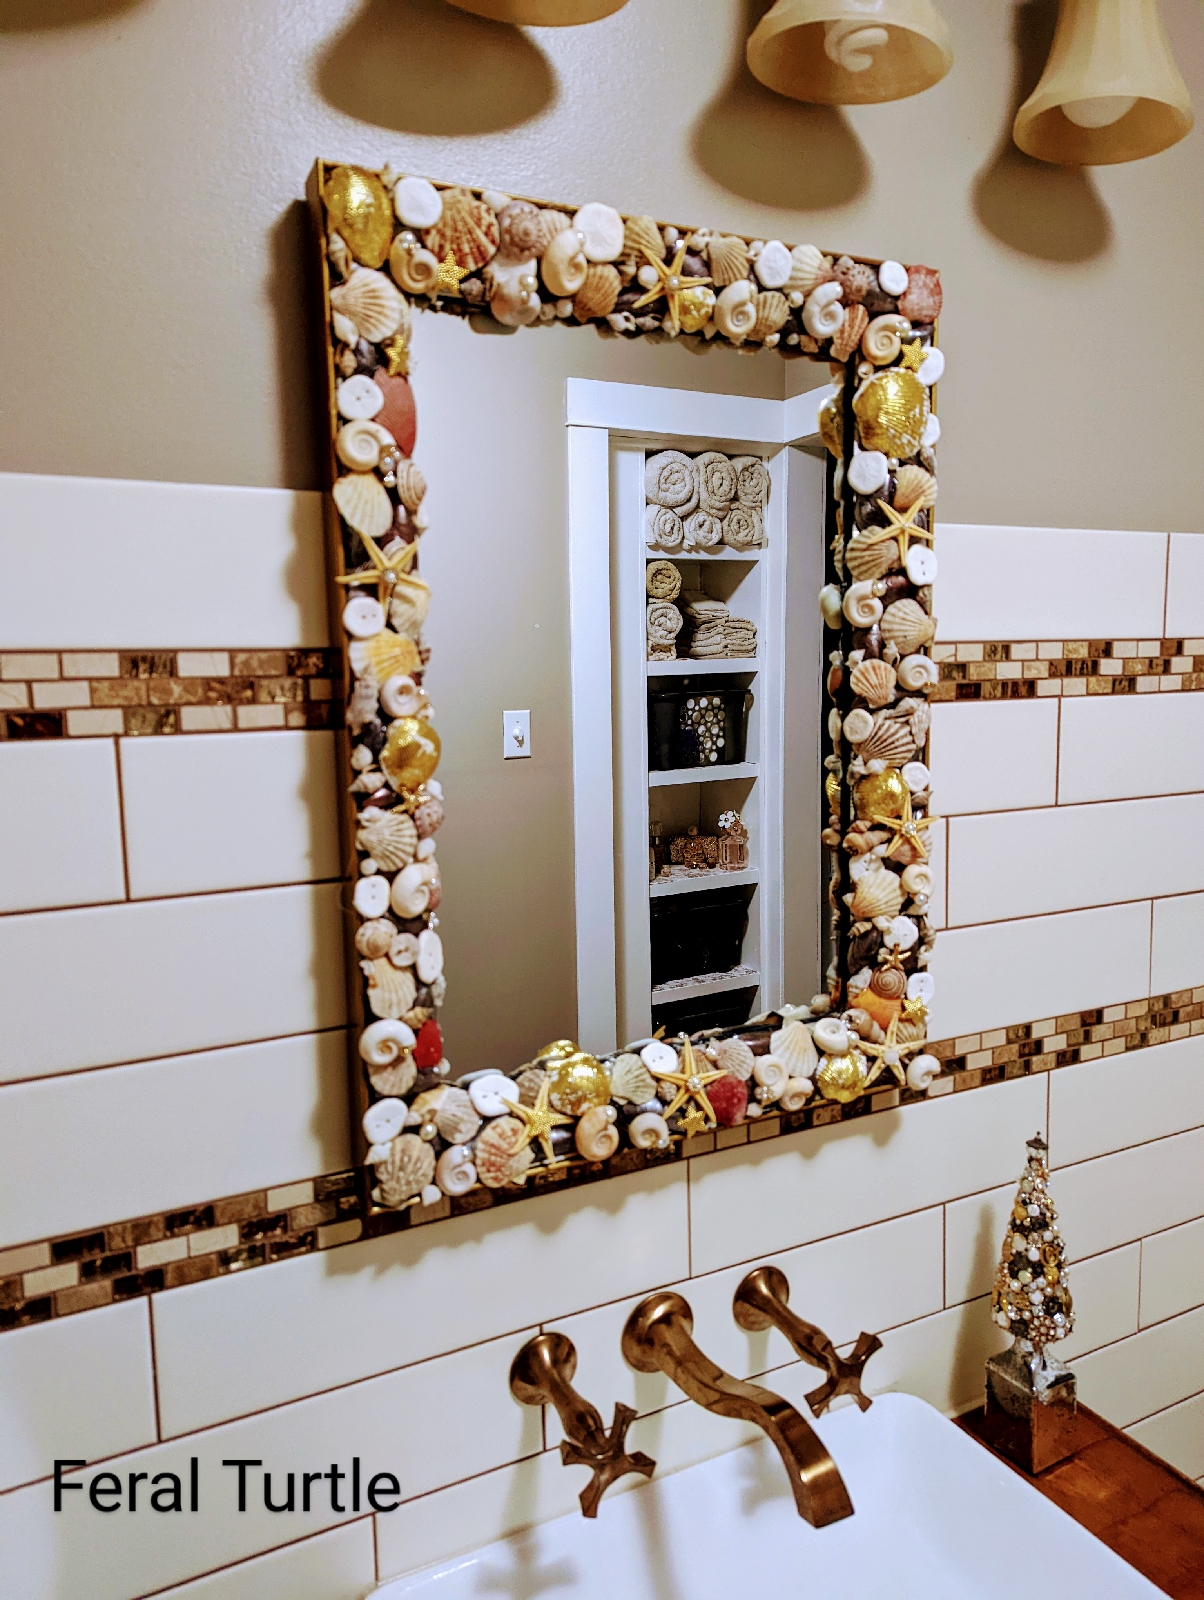
With some dollar store shells added to my own collection, I present to you,
 The New Wrinkle Hiding Beach Loving Looking Glass!!!


Not stunning, but not eleven grand either.
It won't be the easiest thing to clean but I'm sure it will hide the wrinkles.....😣
Nope it doesn't do that either.
 
 Cheers

Monday, November 23, 2020

Turtles Crossed With MacKenzie-Childs = Christmas Gifts!

A plethora of turtles..
Also known as a BALE...that's what Google says.

This project was inspired by my love of the ever whimsical 

and a Youtube video Turtle Soup!!
She is a very amazing artist!


If you put them together you get this.


Most of this project was created from scraps and used materials including some antique beads.

The scrap boards were jointed, planed and cut into desired lengths.  The frames were assembled with pocket screws.  A router was used to create a recess for the mirror.
Wood filler applied, sanded, and base coated with white acrylic paint.  Then the tedious task begins.  
The first one was pretty much hand measured and painted.  The next two were masked off and then painted.  It took two rounds of masking but was much easier to paint.  I did the first in black and white, 
the second in navy blue and white and the third in green and white.


Approx. 50 of these little swimmers were manufactured.  Some went into frames and others became
 fridge magnets.  No turtles were harmed or discarded in the process.


Antiquing was done using oil based burnt umber paint and a rag.  After each frame was dry, 
it was clear coated with an acrylic based polyurethane sealer.

A large old mirror was salvaged and cut to fit the openings.

Turtles, crystals, and numerous other beads were  threaded onto a 22 gauge wire. Each strand was 
attached to the frame using eye screws.  


Hope you are all staying healthy!
Cheers.

Friday, February 24, 2017

We're just gonna blow out this wall and put in a beam Part 8

Yippee!
 We are now back in our old digs but with a sturdy floor and a wood stove.  It has been a looooong year of reno's; actually 1 year and 2 months.  We could have sailed around the world ten times,  joined the circus, had a new Baby Turtle  all in the time this reno took....and we did...have a new baby turtle that is! 


A SHORT video of a hungry baby turtle.


The finishing work is nearly done.  Getting there was another story.


Wednesday, December 28, 2016

Rock Wall Surprise!


What's behind it you ask?
(I am pretty sure you didn't)


Strips of cement backerboard installed on the studs which will create an air gap behind the rock


a coped corner piece.

and prune hands.


and a new baby Turtle!
   I fell in love!
We call him "Baby Turtle"


CHEERS!
Happy New Year to all my friends!