. Recently I was able to acquire another trunk. A few years back, my jack of all trades and I built an end table for our living room using an old trunk, perhaps used for instruments. It was pretty beat up but we made the most of it. I really love it and I had always hoped to make another for our living room.
 |
| Original End Table |
I found this one at a thrift store, scooped her up, and brought her home.

We pretty much built it the same way, using what we had on hand, except for purchasing the 4x4. We measured for the determined height of the finished table and cut four 4x4s to length.

The legs were tapered on two sides to mimic our original design.


All legs were sanded with a belt sander and finished by hand.


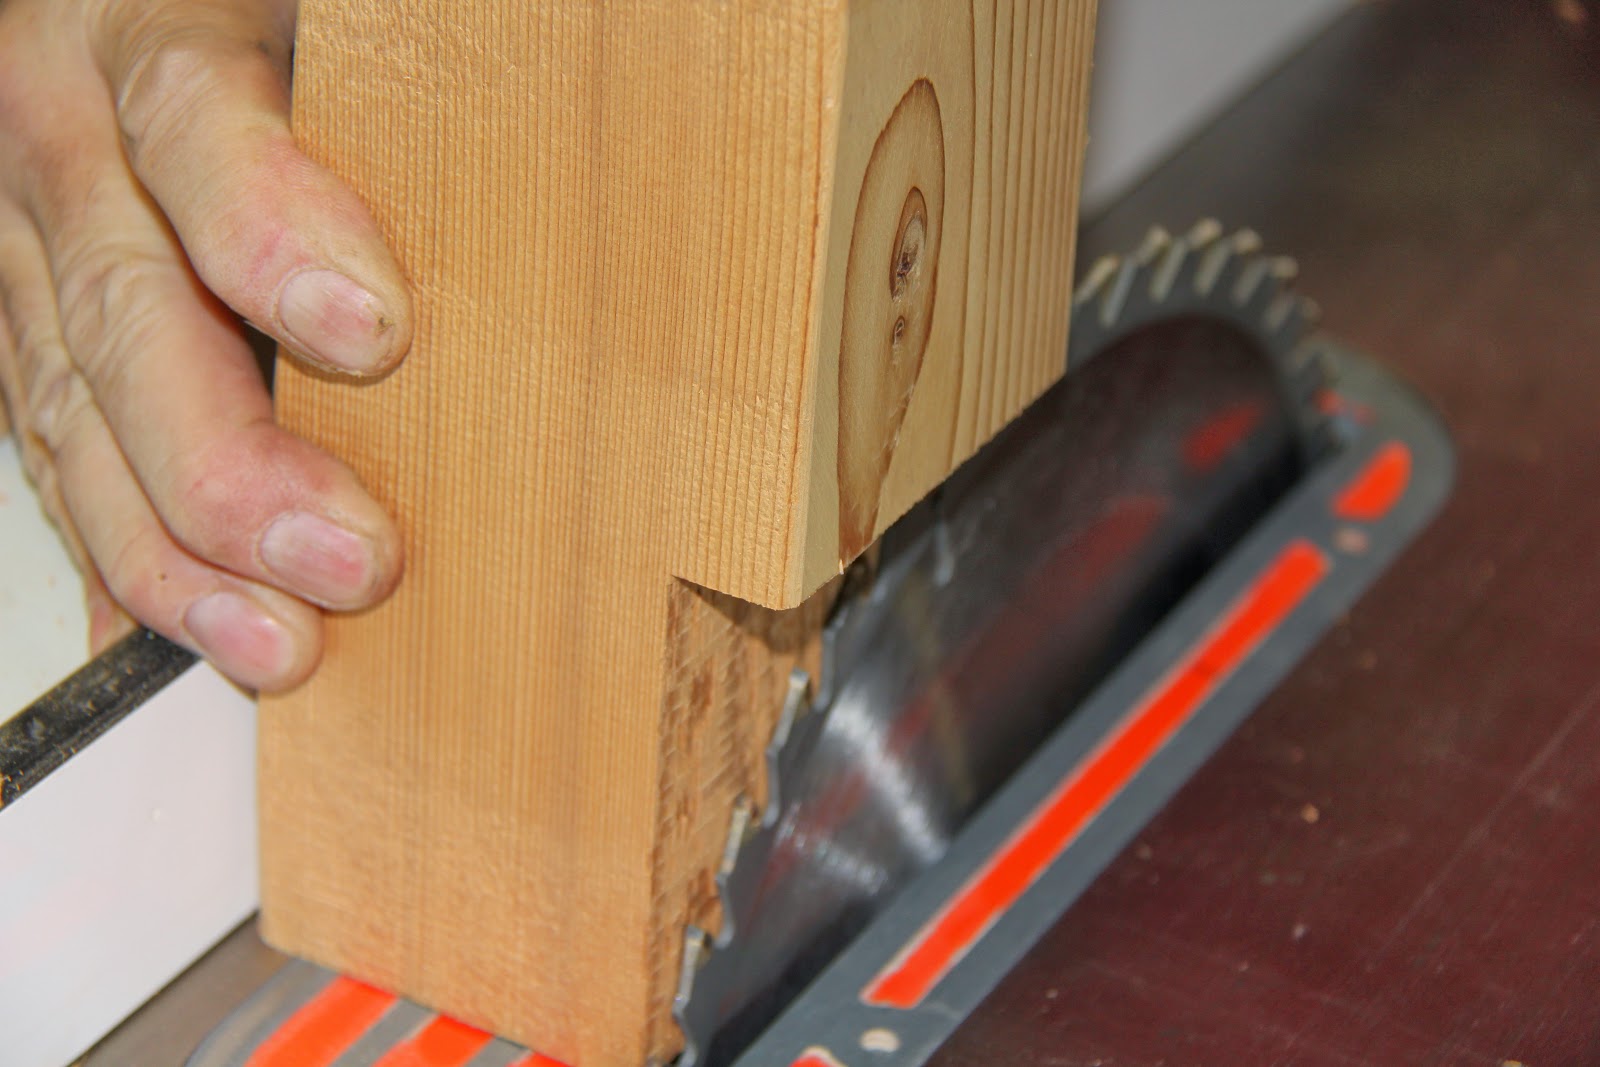
The legs needed to rabbeted at the top to fit behind the sides, but still be flush where the sides meet the legs.. This was done on the two front corners of the leg at the top. Also note that the two rabbeted sides were without the taper.

Next step was ripping four lengths of plywood to the right width. Each corner was mitred on the table saw to the determined length.


Biscuit joints were used for fastening the sides together and then it was glued and clamped to setup overnight.

The legs were glued and clamped and another night goes by, to let it all dry.

Meanwhile the trunk needed to be painted. Masking off the sides so that the metal could be sprayed black was a chore, but necessary.


Paper and tape removed

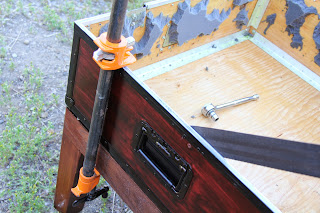
Next day consisted of staining the legs and the body of the trunk.


After another night to let the stain dry, the body could be attached to the legs. Don't mind the inside of the trunk. It was lined in foam which had been firmly glued in.....blah....but I was able to scrape most of it out. We drilled through the inside of the trunk into the legs with a pilot hole and used a lag bolt to anchor the two together.
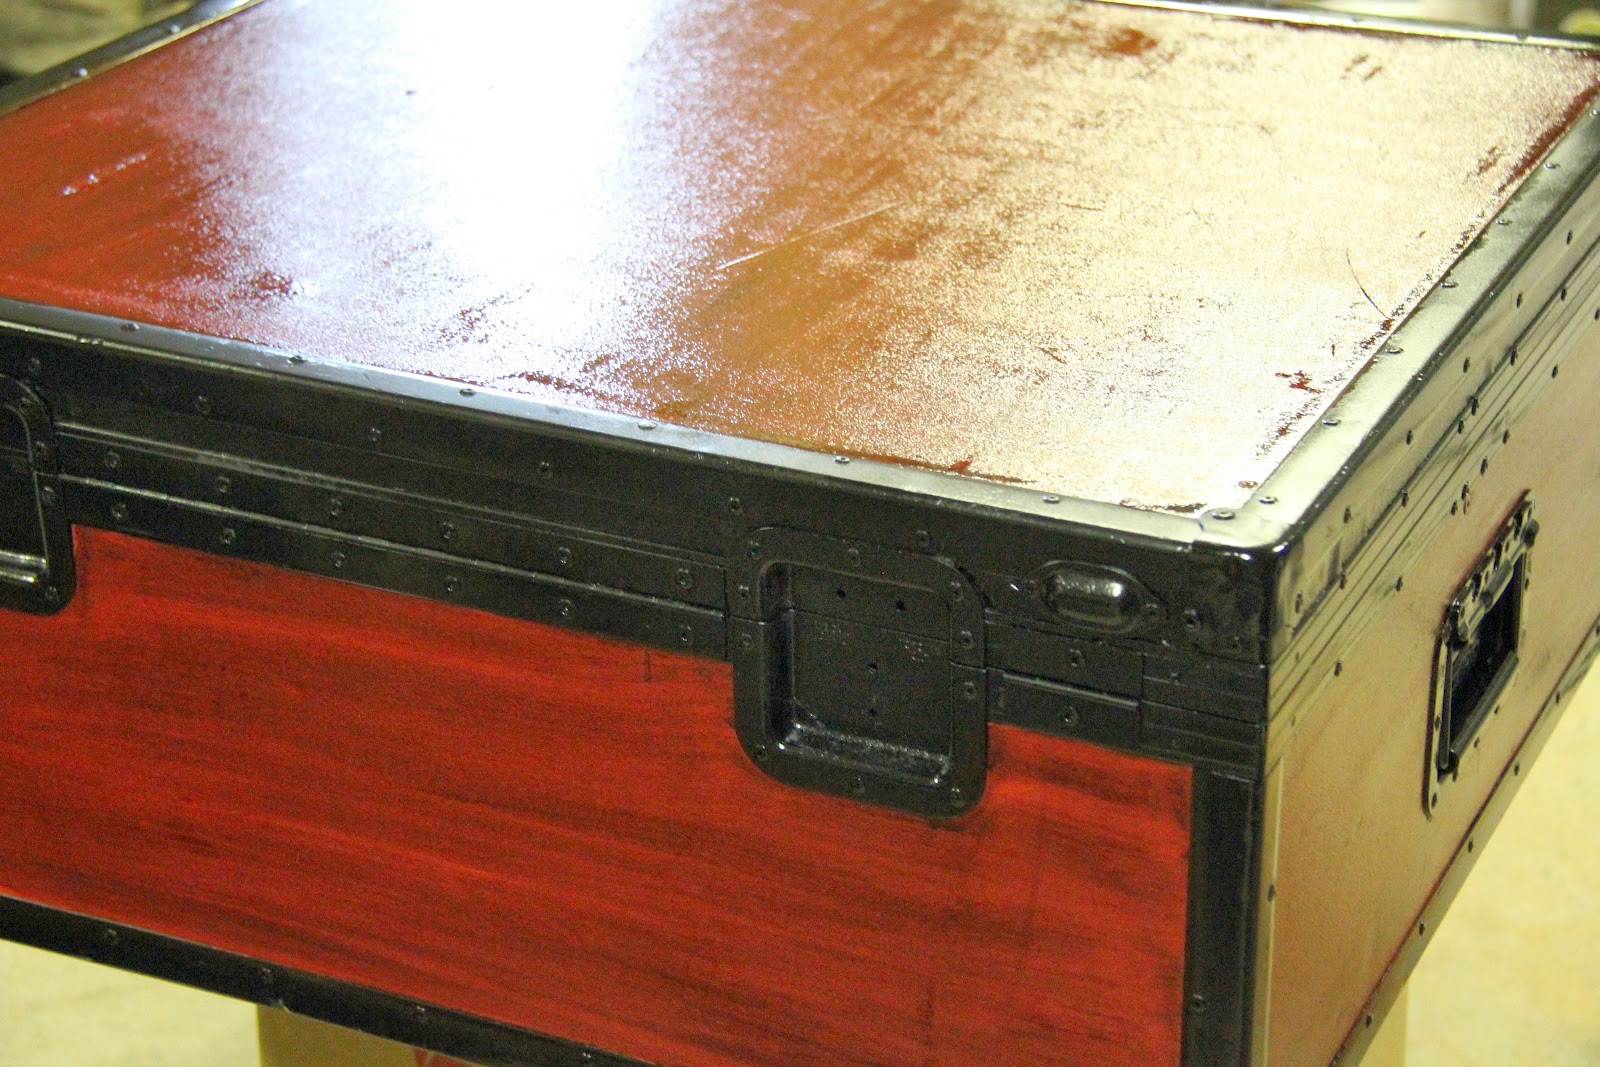
Finished. What do you think??


 I am extremely happy with it. I think I will store junk in my trunk.
CHEERS!

We pretty much built it the same way, using what we had on hand, except for purchasing the 4x4. We measured for the determined height of the finished table and cut four 4x4s to length.

The legs were tapered on two sides to mimic our original design.


All legs were sanded with a belt sander and finished by hand.


The legs needed to rabbeted at the top to fit behind the sides, but still be flush where the sides meet the legs.. This was done on the two front corners of the leg at the top. Also note that the two rabbeted sides were without the taper.
Next step was ripping four lengths of plywood to the right width. Each corner was mitred on the table saw to the determined length.


Biscuit joints were used for fastening the sides together and then it was glued and clamped to setup overnight.

The legs were glued and clamped and another night goes by, to let it all dry.

Meanwhile the trunk needed to be painted. Masking off the sides so that the metal could be sprayed black was a chore, but necessary.


Paper and tape removed

Next day consisted of staining the legs and the body of the trunk.

After another night to let the stain dry, the body could be attached to the legs. Don't mind the inside of the trunk. It was lined in foam which had been firmly glued in.....blah....but I was able to scrape most of it out. We drilled through the inside of the trunk into the legs with a pilot hole and used a lag bolt to anchor the two together.

Finished. What do you think??


CHEERS!